
A gasket costs very little compared to the flange it seals. Yet a neglected gasket can shut down a whole line, ruin a heat exchanger, or spray hot chemical across a work area. The maintenance routine is simple. The replacement steps are straightforward. And skipping either one is expensive. What follows covers what to look for with each gasket type, how to spot trouble before the joint opens, and how to get the old gasket out without damaging the metal underneath.
 Routine Inspection and Maintenance by Gasket Type
 Routine Inspection and Maintenance by Gasket Type
Different gasket materials fail in different ways. The checks that keep a graphite gasket healthy won’t catch a rubber gasket hardening with age, and PTFE needs a different eye than a spiral wound ring. Match the routine to the material.
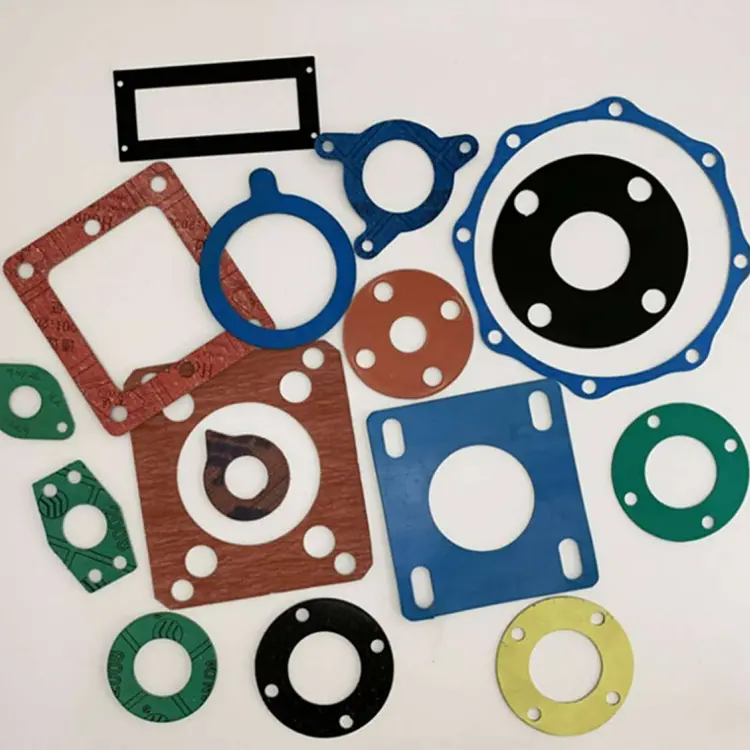
 Non-Asbestos Gaskets
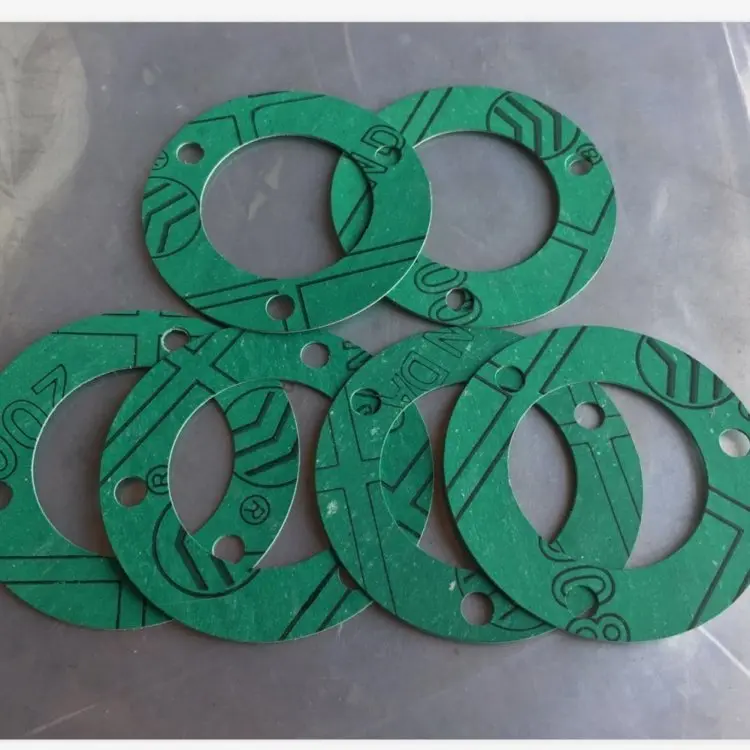 Non-Asbestos Gaskets
Look for signs of binder burnout around the outer edge. If the gasket shows a darkened, brittle rim that flakes off when touched, the flange has been running hotter than the sheet was rated for. A non-asbestos gasket that weeps steadily and won’t take a retorque has lost its binder integrity.
Check for extrusion. A gasket that has squeezed outward between the bolts tells you the bolt load was uneven or the gasket was too soft for the application. If you find this, replace the gasket and review the torque sequence.
Non-asbestos sheets absorb moisture over time. Gaskets stored on a damp shelf and installed weeks later can swell slightly, then shrink when heated. If a joint weeps at startup but stops after a heat cycle, this is often the cause. It normally settles; if it doesn’t, the gasket must come out.
Graphite Gaskets
Graphite gaskets—whether reinforced with metal or laminated—handle high heat, but they oxidize in air above about 450°C. Check exposed edges for a dusty, crumbly surface. Once oxidation eats far enough inward, the seal weakens and eventually opens. If black powder collects around the flange rim, the outer edge is burning off.
Galvanic corrosion between graphite and the flange face is a known problem on stainless steel with conductive process water. During any joint opening, inspect the flange sealing face for shallow pitting that matches the gasket’s inner diameter. Catch this early; once pits cross the sealing area, the flange may need resurfacing.
A graphite gasket that has been opened and reclosed will almost never reseal reliably. Graphite takes a permanent compression set. If the gasket is ever de-pressurized and the flange faces move at all, plan on a fresh gasket.
 PTFE Gaskets
 PTFE Gaskets
PTFE gaskets creep under sustained load. Over time, the gasket thins at the inner edge and bolt load relaxes. During regular walk-arounds, check whether the flange joint still feels tight. A PTFE gasket that has been in service for a year or more at elevated temperature may need a controlled retorque—but only if the gasket is still intact and the manufacturer permits it. A retorque on a cold flange can crack a hardened PTFE ring, so it must be done carefully and to spec.
Watch for discoloration. PTFE turns white or powdery when overheated. If the gasket has lost its natural milky or filled appearance and looks chalky, it has exceeded its temperature limit and the polymer is degrading.
Rubber Gaskets
Rubber gaskets age even when sitting idle. Ozone, UV, and heat harden the elastomer. A stiff, cracked rubber gasket cannot conform to the flange face, and tightening the bolts harder only crushes it. During scheduled outages, feel the edge of any exposed rubber gasket. If it resists a fingernail and shows surface checking, replace it.
Watch for swelling. A rubber gasket that has absorbed incompatible media will bulge slightly from the flange. That bulge is a warning that the rubber is softening and losing strength. Replace the gasket and verify the rubber grade against the process fluid before reinstalling.
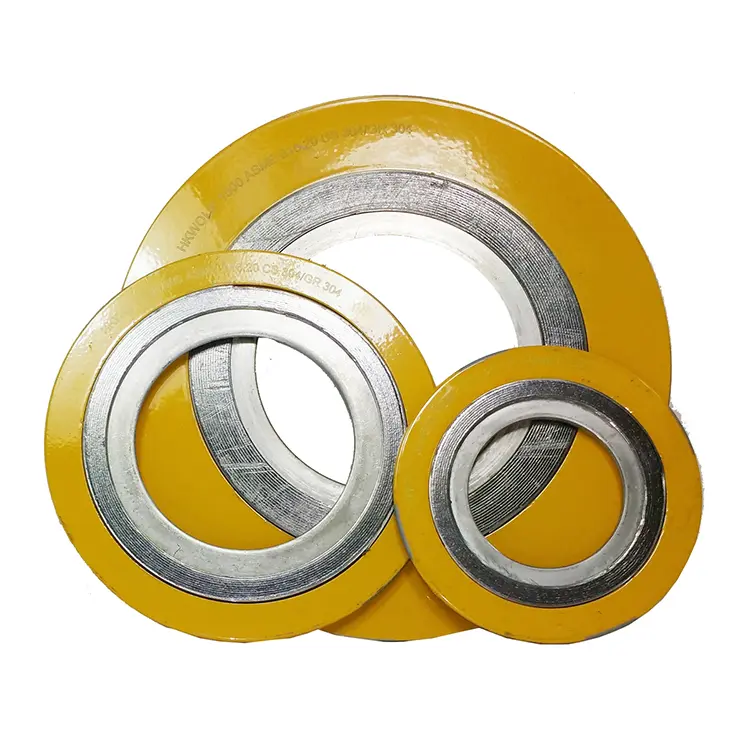
Spiral Wound Gaskets
Spiral wound gaskets rarely fail from material degradation alone. The failure mode is usually mechanical: the winding unloads after thermal cycles, or the outer ring allows the flange to shift off-center. During routine external inspection, look for rust staining around the outer ring on carbon steel flanges. This can indicate a minor weep that has been going on for a while.
A spiral wound gasket with a damaged centering ring that shows dents or bends has almost certainly been installed incorrectly or reused. These gaskets are single-use items. If you find one that’s been pried out and put back in, it will leak sooner rather than later.
Exhaust Gaskets
Exhaust gaskets face extreme temperature swings and constant vibration. Check for soot trails or carbon streaks radiating outward from the flange edge—that’s the telltale sign of a failing exhaust seal. Listen for a ticking or puffing sound during equipment operation; an exhaust leak often announces itself audibly before it’s visible.
Multi-layer steel exhaust gaskets can lose their embossed bead springiness over time. If the equipment has been opened for repair, don’t reuse an exhaust gasket unless it’s a solid metal type specifically designed for multiple uses. The saved cost of a new gasket is far smaller than the labour to replace it again.
Asbestos Gaskets (Legacy)
Any maintenance schedule for equipment still running with asbestos gaskets should be a removal plan, not a repair plan. Never sand, scrape, or wire-brush an asbestos gasket dry. If the joint must be opened, use a wet method and full PPE including a rated respirator. Bag and dispose of the old gasket according to local hazardous material regulations. Then install a modern non-asbestos or graphite replacement that matches the service conditions.
Maintenance by Equipment Type
Different equipment stresses gaskets differently. Tailor your inspection routine to the machine.
Pipe Flanges
Flanges on process lines see pressure and temperature cycles every time the plant starts up and shuts down. Check critical flanges—those on steam, hot oil, acid, or high-pressure lines—for leakage after each restart. A small drop that evaporates quickly leaves a stain. Those stains map out joints that need attention.
Bolted flanges can loosen slightly after the first few thermal cycles. On new or recently serviced joints, a planned retorque after the first heat cycle can prevent leaks before they start. Mark the bolt positions first so you know the starting point, and follow the star pattern.
Heat Exchangers
Heat exchanger gaskets are large, thin in some designs, and exposed to full pressure differential. During planned cleaning or inspection, pull the old gasket, inspect the sealing groove for scale and pitting, and measure the gasket thickness against the OEM specification. A compressed gasket that is 20–30% thinner than original has taken its permanent set. Replace it even if it looks intact.
If the exchanger uses a metal-jacketed or spiral wound gasket, look for cracks at the weld of the inner or outer ring. These cracks grow with repeated thermal cycles and eventually open.
Valve Bonnets and Covers
Valve bonnet gaskets rarely fail in normal operation, but they do fail after a valve has been opened for maintenance and then reassembled with the old gasket. Never reuse a bonnet gasket. The risk of a blowout under pressure is too high. During valve overhauls, inspect the bonnet flange face for wire-drawing or erosion near the gasket seat. Even a small washed-out channel will prevent a seal.
Pump Casings
Casing gaskets on split-case pumps take a beating from vibration and misalignment. After repacking the pump or adjusting the alignment, always check the casing joint for seepage when the pump is brought back online. The gasket may have shifted during reassembly. A pump that discharges into a closed valve briefly during startup can spike pressure at the volute and damage the gasket. If the casing gasket leaks after an overpressure event, it must be replaced before the next run.
Engine and Exhaust Systems
On engines, exhaust manifold gaskets should be inspected at each major service. Check for carbon tracking and feel for looseness at the fasteners—exhaust bolts stretch and lose tension. Replacing the gasket is often accompanied by new fasteners if the manufacturer specifies torque-to-yield bolts.
Signs a Gasket Needs Replacement
Some symptoms indicate a joint needs to be opened and the gasket renewed. Adjusting the bolts won’t fix these.
-
A visible stream, drip, or spray from the flange.
-
A heavy stain with crystallized deposits running down the flange face.
-
A persistent smell of the process fluid around the joint, even if no liquid is visible.
-
Bubbles forming when soap solution is applied to a gas flange.
-
A sudden increase in bolt torque needed to hold the seal, followed by inability to stop the leak.
-
Crushed, extruded, or partially blown-out gasket material visible at the flange rim.
When any of these appear, schedule a gasket change. Delaying turns a small leak into a damaged flange face.
Gasket Replacement Procedure
A proper gasket replacement starts well before the wrench touches the bolt. Rushing the removal can score the flange face and ruin the surface that the new gasket depends on.
Preparation Before Breaking the Joint
-
Shut down and isolate the equipment. Confirm zero pressure and drain the line or vessel. Let it cool to ambient temperature if possible—hot flanges can warp when unbolted.
-
Gather the correct replacement gasket. Verify material, size, and pressure rating against the line specification. Do not cut a new sheet gasket by tracing the old one; measure the flange and use a proper template.
-
Have the tools ready: calibrated torque wrench, brass scraper, plastic or brass wire brush, solvent cleaner, lint-free rags, and a gasket scraper or removal tool. Never use a steel scraper on a flange face.
-
Get a good light and, if needed, a mirror to inspect hard-to-see areas.
Removing the Old Gasket – Step by Step
-
Mark the bolt positions. Use a paint marker to number each bolt and draw a witness mark across nut and flange. This lets you return each nut to its original position if needed during staged loosening.
-
Loosen bolts in the reverse of the tightening sequence. Use a star or diagonal pattern, and break each bolt only a quarter turn first. Work around the flange in stages. This prevents the flange from cocking and binding against the last bolts.
-
Separate the flanges gently. On raised face flanges, the gasket may be stuck to both sides. Use a soft brass drift or wedge and gently tap between the flange faces to break the bond. Do not drive a screwdriver between the faces. Lift the mating flange or spread it evenly using flange spreaders if available.
-
Remove the old gasket. Peel it off in one piece if possible. If it breaks, gather every fragment. Any piece left behind will hold the new gasket away from the face and create a leak path.
-
Scrape the gasket residue off the flange face. Use a brass scraper held at a low angle and work from the outer edge toward the center (or from the raised face inward to the bore). Do not scratch across the sealing surface. Apply solvent to soften stubborn stuck-on material, but ensure the solvent evaporates fully before installing the new gasket.
-
Clean the flange faces. Wipe both faces with a clean rag and an appropriate solvent until they are bright and free of oil, grease, and old gasket bits. Check the flange surface finish. Any radial scratch, pit, or groove that extends across the sealing width is a problem. Light marks can be dressed with a fine oil stone; deeper damage may require re-machining.
-
Inspect bolt holes and studs. Run a thread chaser through each hole if the flanges have been off for a long time. Wire-brush the studs and apply new anti-seize or thread lubricant according to the torque specification. Dirty threads cause false torque readings and under-compressed gaskets.
-
Check the flange parallelism and alignment. Bring the flanges together dry and verify that they meet squarely with an even gap all around before inserting the gasket. Misalignment will pinch the gasket on one side and leave a gap on the other.
Installing the New Gasket
With both flange faces spotless, dry, and aligned, the job moves to fitting the new gasket. The gasket must sit exactly on the sealing face—no overhang into the bore, no blocking of bolt holes. Bolts go in finger-tight, then the joint is closed in a staged, diagonal sequence using a calibrated torque wrench. The exact procedure, including surface preparation, gasket placement, tightening passes, and post-installation checks, is covered step by step in our Gasket Installation Guide.
New gasket installed, pressurize the line gradually and check for leaks before returning to full service. For critical joints, a retorque after the first heat cycle may be warranted.
Storage and Handling Best Practices
How gaskets are stored between jobs has a direct effect on their performance. A gasket that sits warped on a shelf for a year may never seal properly.
-
Keep sheet gaskets and cut rings lying flat on a rigid surface. Vertical storage leads to permanent sag.
-
Store rubber and PTFE gaskets away from direct sunlight, fluorescent light, and ozone sources like electric motors. UV and ozone age elastomers.
-
Protect graphite gaskets from moisture. While graphite itself does not absorb water, a wet gasket can cause galvanic corrosion on stainless flanges.
-
Keep spiral wound gaskets in their original packaging until use. The winding and outer ring can be dented by rough handling. A small bend in the centering ring prevents proper fit.
-
Do not stack heavy items on gaskets. A crushed edge compresses the material unevenly and creates a thin spot.
-
Rotate stock so older gaskets are used first. Many elastomer-bound sheets have a shelf life, after which the binder stiffens and loses compressibility.
A gasket maintenance program built around these checks keeps joints tight and avoids the surprise of a leak at the worst possible moment. The cost of inspecting and replacing a gasket on your schedule will always be less than the cost of replacing it in the middle of the night under an unplanned outage.