Tools & Materials
-
Wrenches / socket set sized for valve fasteners
-
Torque wrench (calibrated)
-
Packing installation tool or packing driver
-
Screwdriver / driver bits as required
-
Clean lint-free rags and solvent for cleaning
-
Approved grease / lubricant
-
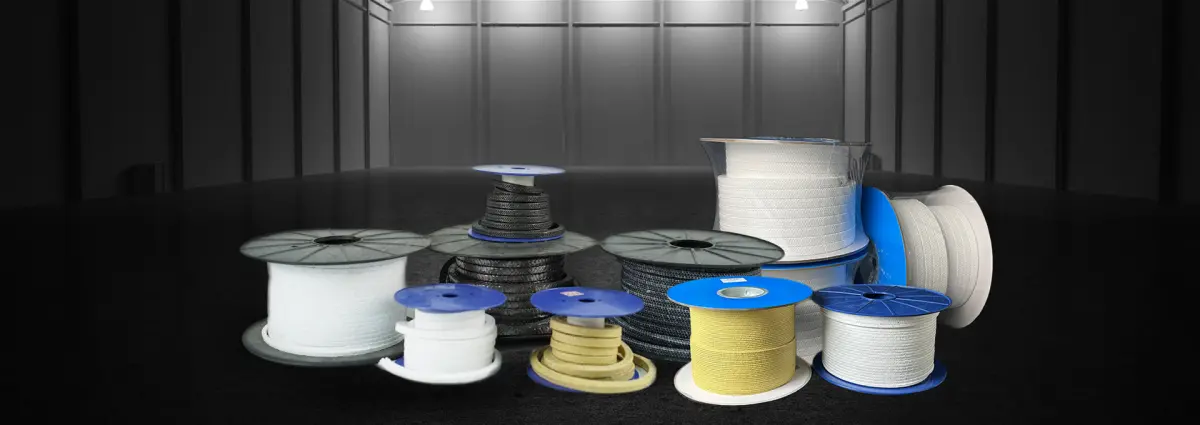
Replacement plunger packing rings (correct size & material)
-
New gasket(s) (if required)
-
Safety PPE: gloves, safety glasses, hearing protection
Step-by-step Procedure
-
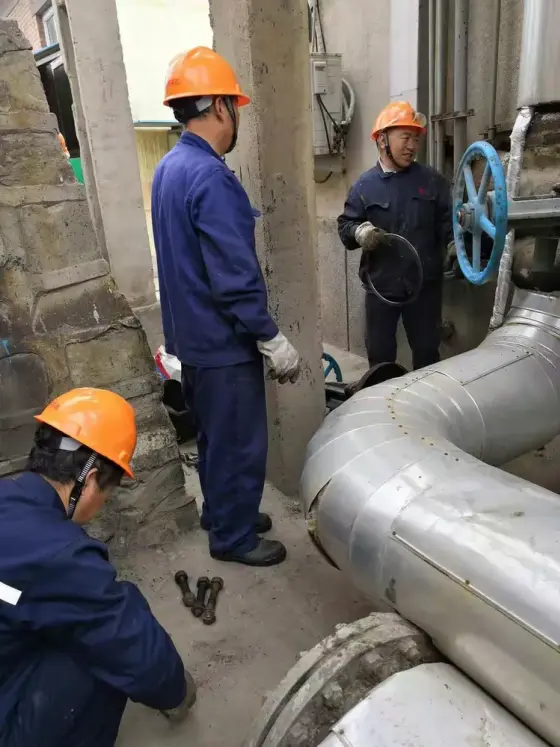
Confirm maintenance completion for Valve #13
-
Verify all required inspection and repair tasks on Valve #13 have been completed before reassembly (cleaning, seat inspection, valve components checked/replaced). Record findings in the maintenance log.
-
-
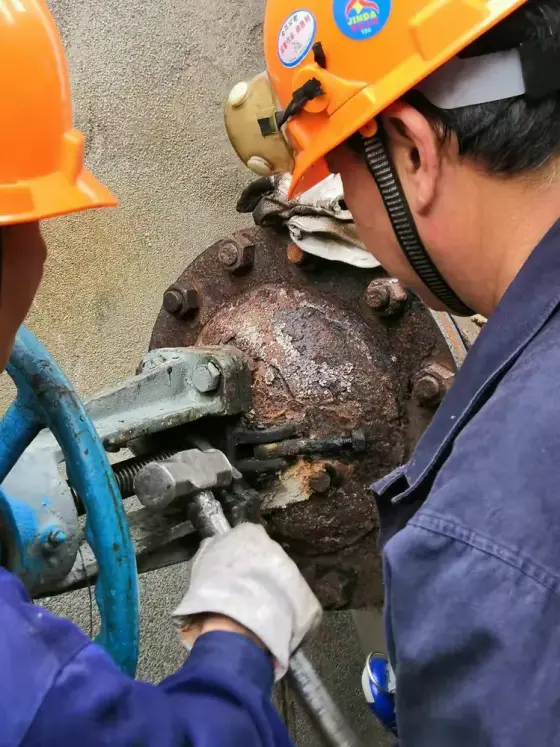
Remove old packing
-
Carefully extract the old packing rings from the packing bore using the appropriate puller or hook.
-
Dispose of used packing according to site procedures.
-
Inspect the packing bore and plunger for scoring, nicks or corrosion. If damage is found, repair or replace affected parts before continuing.
-
-
Clean and prepare surfaces
-
Clean the packing cavity, plunger surface and surrounding sealing faces with solvent and lint-free cloths.
-
Ensure sealing faces are free of grease, debris and sharp burrs. Lightly polish if needed (by hand).
-
-
Apply lubricant (grease)
-
Apply a thin, even coating of the approved lubricant to the plunger outer surface and to the packing oil ring as required by the packing manufacturer.
-
Avoid contaminating flange or valve seat faces unless specified.
-
-
Install new packing rings
-
Stagger/step the joints of multiple rings if required by the packing type.
-
Use the packing installation tool to press each ring evenly into the packing bore until the packing follower can be fitted flush.
-
Ensure the braided packing is seated squarely and not twisted or cut.

-
-
Install gasket
-
If a gasket is required in the assembly, position a new gasket between mating surfaces, ensuring correct orientation and full contact with bolt holes.
-
-
Reinstall valve and fasteners (screws/bolts)
-
Refit Valve #13 into place (or reassemble the valve components) and hand-start all fasteners.
-
Tighten fasteners in a cross or star pattern to ensure even compression.
-
Use a calibrated torque wrench to tighten to the specified torque values from the valve or packing manufacturer.
-
-
Final checks & run test
-
After assembly, perform a pressure or functional test under controlled conditions to check for leaks.
-
Inspect for correct movement and sealing. If any leakage or binding is observed, relieve pressure and rework the packing or fasteners as necessary.
-
Log torque values, parts replaced, lubricant used and test results.
-