
Installing a long level gauge glass looks simple — put the glass in, tighten the bolts, done. But in reality, most premature glass failures happen because of installation errors, not material defects. Uneven torque, wrong gasket material, or a dirty sealing surface can crack a brand-new glass within hours of start-up.
This guide walks through the correct procedure for installing reflex and transparent long gauge glass, based on common industry practice and field experience. Whether you’re working on a boiler water level gauge, a tank level indicator, or a process sight glass, the same principles apply.
In this article:
Pre-installation checks
Step-by-step tightening procedure
Recommended torque values
Troubleshooting common failures
1. Pre-Installation Checklist
Before you touch a wrench, spend five minutes checking these items. It saves hours of rework later.
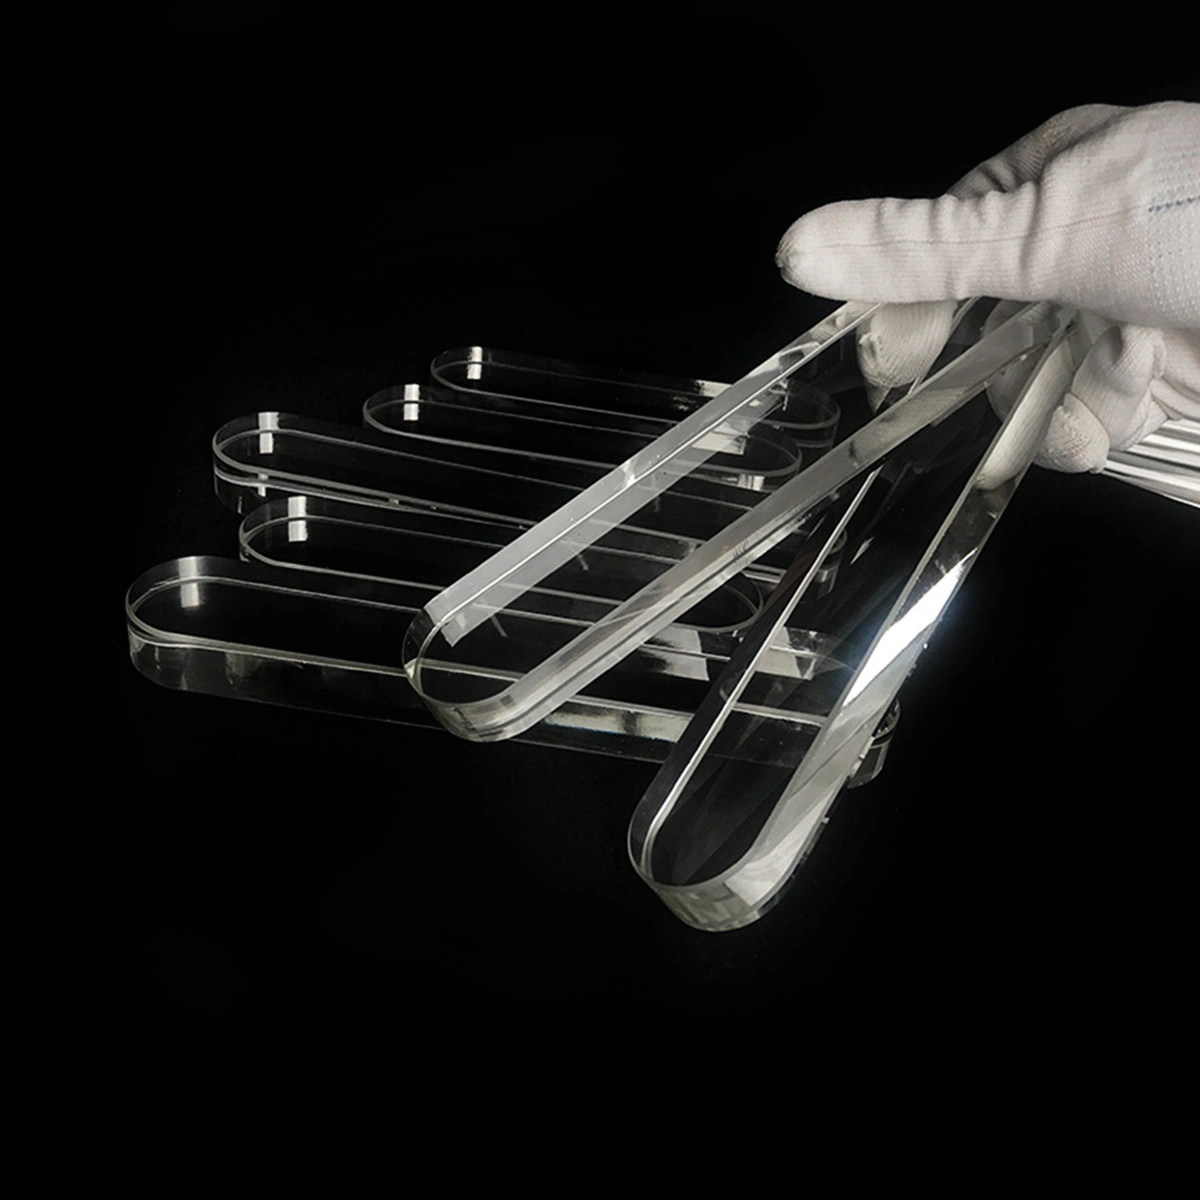
1.1 Confirm Glass Type and Size
Long gauge glass comes in two main types:
Reflex glass – one side has prismatic grooves. It gives a sharp black/white contrast for clear liquids like water.
Transparent glass – smooth on both sides. Used when you need to see the liquid color, interface level, or when a light source is installed behind the gauge.
Also check:
Length, width, thickness
Prism angle (commonly 20°, 30°, 45° for reflex)
Material: borosilicate (standard) or aluminosilicate (high temperature/pressure)
If the replacement glass doesn’t match the original dimensions exactly, don’t force it. A glass that’s too long will crack from thermal expansion. A glass that’s too narrow may not seal properly.
1.2 Pick the Right Gasket Material
Gaskets are just as important as the glass. The wrong material can degrade quickly or transfer uneven pressure to the glass.
| Service Condition | Common Gasket Material |
| Water, saturated steam up to 250°C | Non-asbestos aramid fiber |
| High temperature steam (>250°C) | Graphite or mica |
| Corrosive chemicals | PTFE (check temperature limit) |
| Food-grade or sanitary | PTFE or food-grade silicone |
Use one continuous gasket per side. Splicing two shorter pieces together creates a leak path and uneven compression.
1.3 Inspect Metal Surfaces
Clean the sealing groove with a plastic scraper. Metal tools can scratch the surface and create stress risers.
Check for burrs, rust, pitting, or warpage. Run a straightedge along the gasket seat — any visible gap means the cover plate won’t compress evenly.
Confirm bolt holes align properly. If the cover plate doesn’t drop into place easily, find out why before adding the glass.
1.4 Use the Right Tools
A calibrated torque wrench is essential. Impact wrenches and ordinary spanners give no control over final torque.
Clean cloths and a solvent for degreasing.
Optional: anti-seize compound for bolt threads in high-temperature service.
2. Step-by-Step Installation Procedure
Follow the sequence exactly. The order of tightening matters more than the exact torque value.
Step 1: Dry Fit the Glass
Place the glass into the metal channel without any gaskets. Check:
It sits fully in the groove, no rocking or high spots.
There is a small end clearance (0.5–1.0 mm) at both ends. This allows thermal expansion without the ends pressing against the metal.
The glass doesn’t touch the metal anywhere except the intended seating areas.
If the dry fit isn’t perfect, stop and fix the surface or get the correct size glass. No gasket will compensate for a bad fit.
Step 2: Install Gaskets and Cover Plate
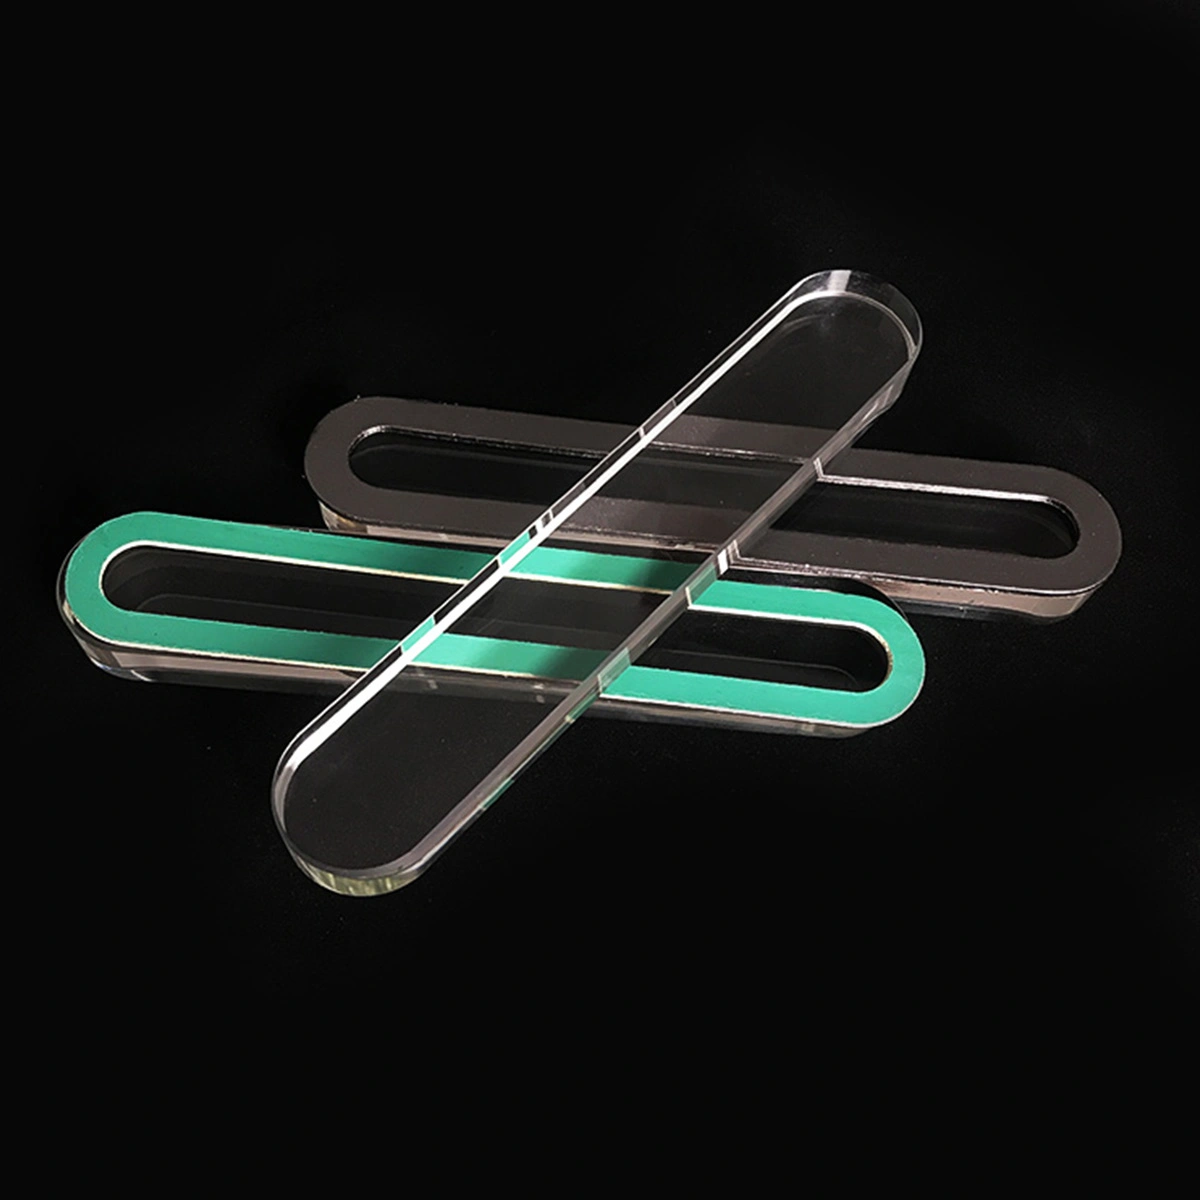
Lay the first gasket into the channel, place the glass on top, then add the second gasket, cushion plate (if used), and cover plate.
Make sure:
The gasket sits flat with no wrinkles or folds.
No gasket material protrudes into the viewable area of the glass.
Bolt holes line up without pushing or stretching the gasket.
Step 3: Hand-Tighten All Bolts
Insert all bolts and turn them by hand until the cover plate just contacts the gasket. Do not use a wrench yet.
If any bolt doesn’t thread smoothly, remove it and check the threads. Cross-threading causes uneven load and is a common source of cracked glass.
Step 4: Tighten in a Cross Pattern
This is the step most people get wrong. Never tighten from one end to the other — that creates a stress wave and cracks the glass at one side.
Use a center-out cross pattern.
Example for a 6-bolt cover plate (bolts numbered 1–6 from left to right):
Tighten in this order: 3 → 4 → 2 → 5 → 1 → 6
Apply torque in three passes:
Pass 1: 30% of final torque
Pass 2: 60% of final torque
Pass 3: 100% of final torque
This gradual loading lets the gasket compress evenly and prevents local high-pressure points on the glass.
Step 5: Apply Final Torque
Use a calibrated torque wrench. Final torque depends on bolt size, material, and gasket type. These are typical starting values for steel bolts with aramid gaskets:
| Bolt Size | Recommended Torque |
| M6 | 3–5 N·m |
| M8 | 8–12 N·m |
| M10 | 15–25 N·m |
| M12 | 25–35 N·m |
Important: These are general guidelines, not universal values. Always refer to the gauge manufacturer’s torque chart if available. If you don’t have one, start at the lower end and increase only if leakage occurs during testing.
You can download a general torque reference chart here: Download Torque Chart PDF (free, no sign-up required).
Step 6: Hydrostatic Test
After assembly, test the gauge before putting it into service:
Slowly pressurize to 50% of design pressure. Hold for 15 minutes.
Inspect for leaks around the gasket and glass edges.
If no leaks, raise to design pressure and hold for 30 minutes.
If minor gasket leakage appears, release pressure completely first. Then re-tighten each bolt by no more than 10% of final torque, following the same cross pattern.
Never tighten a pressurized gauge. It’s extremely dangerous and will almost certainly crack the glass.
3. Common Installation Mistakes and How to Fix Them
| Symptom | Likely Cause | Corrective Action |
| Crack radiating from bolt hole | Uneven torque or over-tightening | Re-tighten with calibrated torque wrench in cross pattern |
| Chipped edge | Metal burr or hard contact with cover plate | Deburr metal surfaces; check cushion gasket position |
| Vertical crack after start-up | Thermal shock (e.g., cold water on hot glass) | Confirm material temperature rating; avoid sudden temperature changes |
| Persistent gasket leak | Uneven gasket compression or wrong material | Replace gasket; check cover plate flatness |
| Cloudy or etched glass surface | Chemical attack from process fluid | Verify glass material compatibility with fluid |
| Glass breaks during tightening | Bolts tightened in linear sequence | Always tighten from center outward in three passes |
If you’re still experiencing failures after correcting these factors, the glass itself may be the problem — dimensional tolerance, edge finish, or internal stress from poor manufacturing. Reputable suppliers should provide dimensional inspection reports upon request.
4. Frequently Asked Questions
Q: What torque should I use for level gauge glass bolts?
A: It depends on bolt size and gasket material. For M8 bolts with aramid gaskets, 8–12 N·m is typical. Always start low and test before increasing.
Q: Can I cut gauge glass to length myself?
A: No. Gauge glass must be cut and edge-finished under controlled factory conditions. Hand-cut edges contain micro-cracks that will propagate under pressure and temperature cycling.
Q: What’s the difference between reflex and transparent gauge glass?
A: Reflex glass has prismatic grooves that create a dark/light contrast for clear liquids. Transparent glass is smooth and needs a backlight; it’s used for colored liquids, interface levels, or when visual clarity through the glass is needed.
Q: How do I know if the glass is borosilicate or aluminosilicate?
A: Check the original order documentation or ask the supplier. Aluminosilicate is typically used for boiler service above 250°C or where thermal shock resistance is critical.
Q: How often should I replace the gaskets?
A: Replace gaskets every time you disassemble the gauge. Even if they look fine, a compressed gasket loses resilience and may not seal properly on reassembly.
5. Final Thoughts
Installing long gauge glass correctly isn’t complicated, but it requires patience and attention to detail. The most common reasons for failure — uneven torque, wrong gasket, dirty surfaces — are all preventable at the installation stage.
If you’re sourcing replacement glass, pay attention to dimensional tolerance and edge quality. Ask the supplier for a torque recommendation for your specific size and gasket type. A good supplier will provide this without hesitation.
Have a question about your specific installation? Leave a comment below or contact our engineering team — we’re happy to help, even if you didn’t buy from us.
